
Ready-to-assemble DIY kit
Exactly the same patio cover our own team installs, delivered to your home as a kit. We do the groundwork in the factory: cut to size, rubbers fitted, lights built in, screws included. All you have to do is put it together.
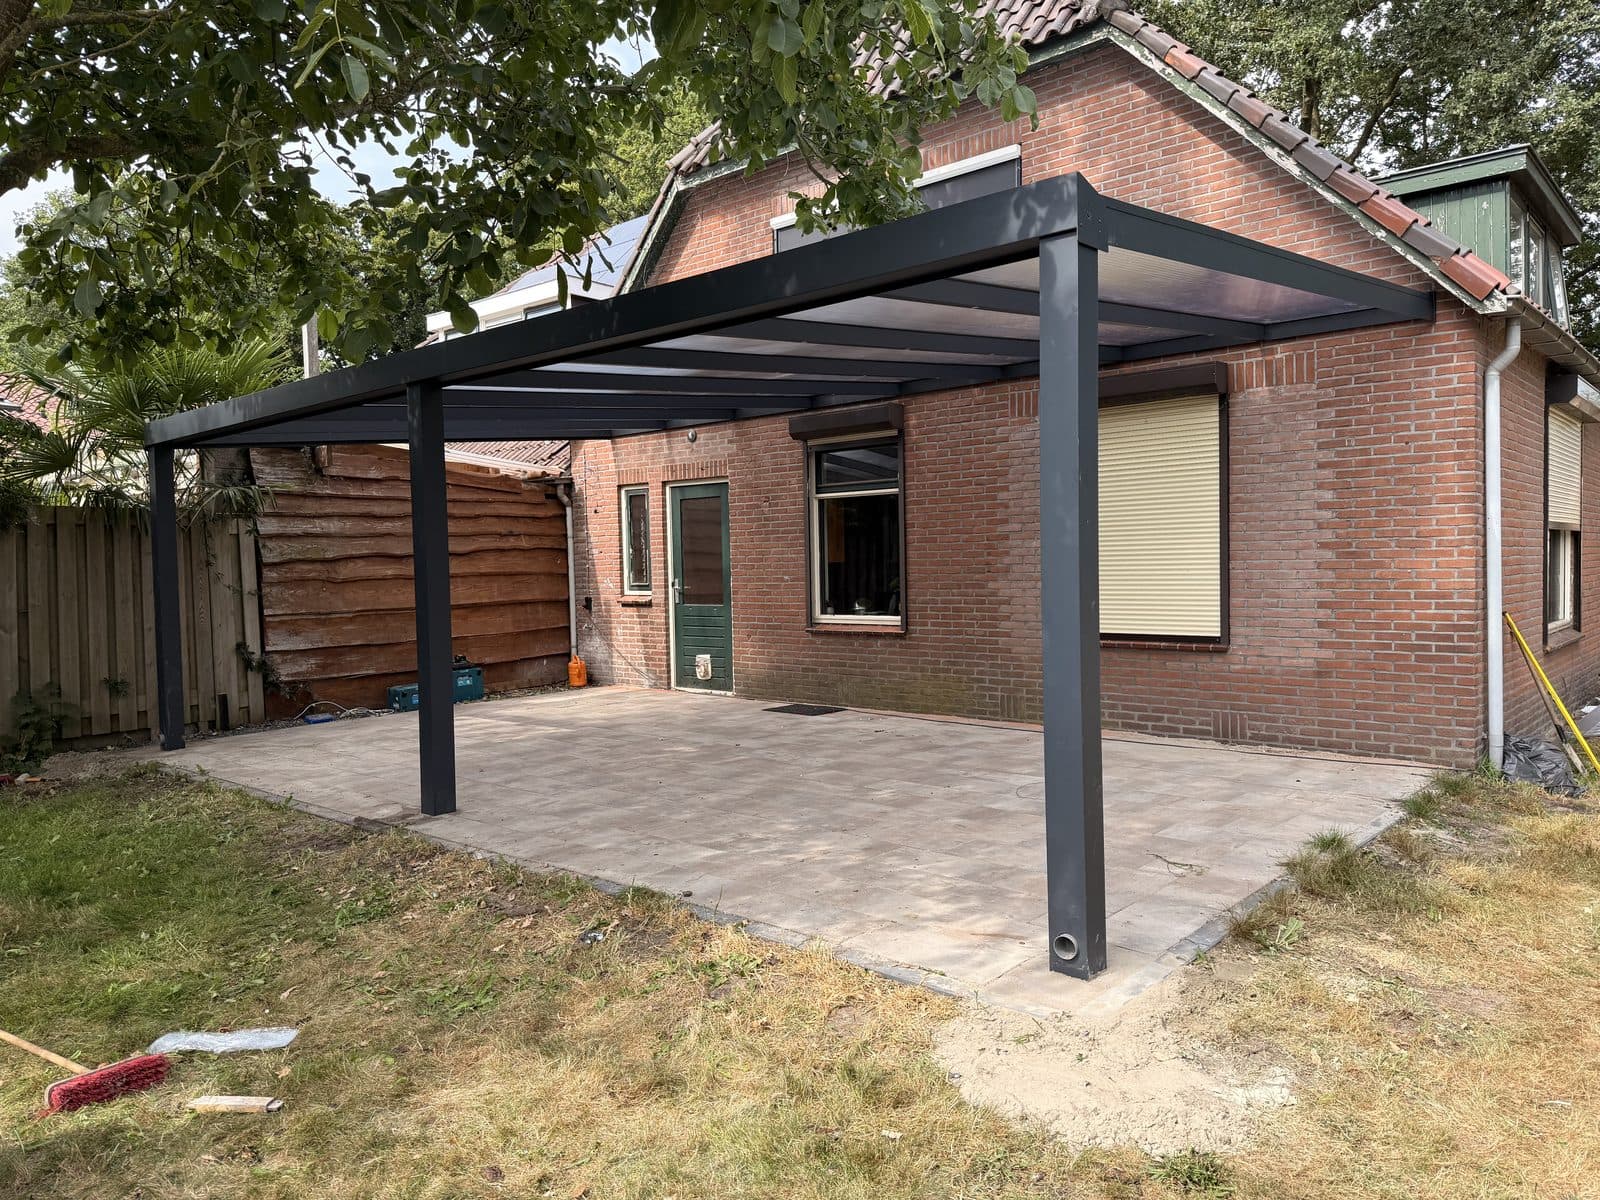
What we have already done for you
The difference between a DIY kit and a pile of profiles lies in the preparation. This is what happens before your kit leaves our premises.
Rubbers already fitted in the rafters
The roof rubbers are pressed into the rafters at the factory. You do not need to pull anything in or cut anything to length.
Everything is cut to size
Gutter, wall plate and rafters arrive cut to your size. The bottom rails of the glass sliding wall are also cut to length.
Rafters are pre-ground
The joints are already ground so the parts fit together tightly. No filing on site.
Lighting is already built in
If you choose lighting, the spotlights are already built into the rafters and wired up. You only need to connect the power supply.
Roof panels are taped
Polycarbonate panels are taped on both ends with aluminium tape and breathable tape, so they stay clear for a long time.
Sliding wall is pre-assembled
The bottom carriages are already tapped onto the panels and the wheels are already fitted. The glass only needs to go into the rail.
Fixings are included
Screws in the right colour, wall plugs and the other fixing materials are in the kit. You do not need to buy anything extra.
How to put it together
Five steps. With two people and the right tools, a standard patio cover is finished in a day or two.
- 01
Hang the wall plate level
The wall plate is already cut to size. Determine the height, drill the holes and fix it level with the supplied plugs and screws.
- 02
Set up posts and gutter
Place the posts on the base plates, hang the gutter between them and set the whole structure square and level. Only then tighten everything for good.
- 03
Fit the rafters
The rafters sit between the wall plate and the gutter. The rubbers are already fitted and the ends are pre-ground, so this is simply a case of positioning and fixing.
- 04
Slide in the roof panels
Slide the panels between the rafters, with the taped ends as they were packed. Then fit the cover strips.
- 05
Sliding wall into the rail
The bottom rail is cut to size and the wheels are already under the panels. Place the panels in the top rail, tilt them into the bottom rail and adjust.
Tools you will need
You do not need to buy anything. Almost everything can be hired by the day from a local DIY store.
- Cordless drill with masonry bitsfor hire
- Rotary laser or long spirit levelfor hire
- Cross-line laser for the postsfor hire
- Scaffold or two sturdy stepladdersfor hire
- Glass suction lifters for the roof panelsfor hire
- Torque wrench and socket setyour own will do
What you arrange yourself
To be fair, this part is up to you. If you know in advance, you will not face any surprises.
- A level, load-bearing surface (paving or concrete) where the posts will stand.
- Drilling the holes in the wall and in the profiles: these are deliberately not pre-drilled, so you determine the measurements on site.
- Two people. The rafters and the glass panels cannot be lifted alone.
- Having the electrics connected by a qualified electrician if you have chosen lighting.
Frequently asked questions
- Are the holes pre-drilled?
- No. You drill the holes yourself. That is deliberate: this way you determine the measurements on your own wall and surface, and you are not stuck with holes that are just off.
- Do I still need to buy screws or plugs?
- No. Screws in the right colour, wall plugs and the other fixing materials are already in the DIY kit.
- Can I do it on my own?
- Plan on two people. The rafters and roof panels are too long and too heavy to handle safely on your own.
- What if I get stuck halfway?
- Every DIY kit comes with an installation manual. If you get stuck, call +31 85 400 1985; we will talk it through with you by phone or schedule an installer after all.
Prefer to have it installed?
That is also possible. Our own installation team fits the same patio cover at your home. You can see the price with and without installation side by side in the configurator.